Simulate Workflow
To test and validate the functionality of a workflow within One Stop, follow these steps:

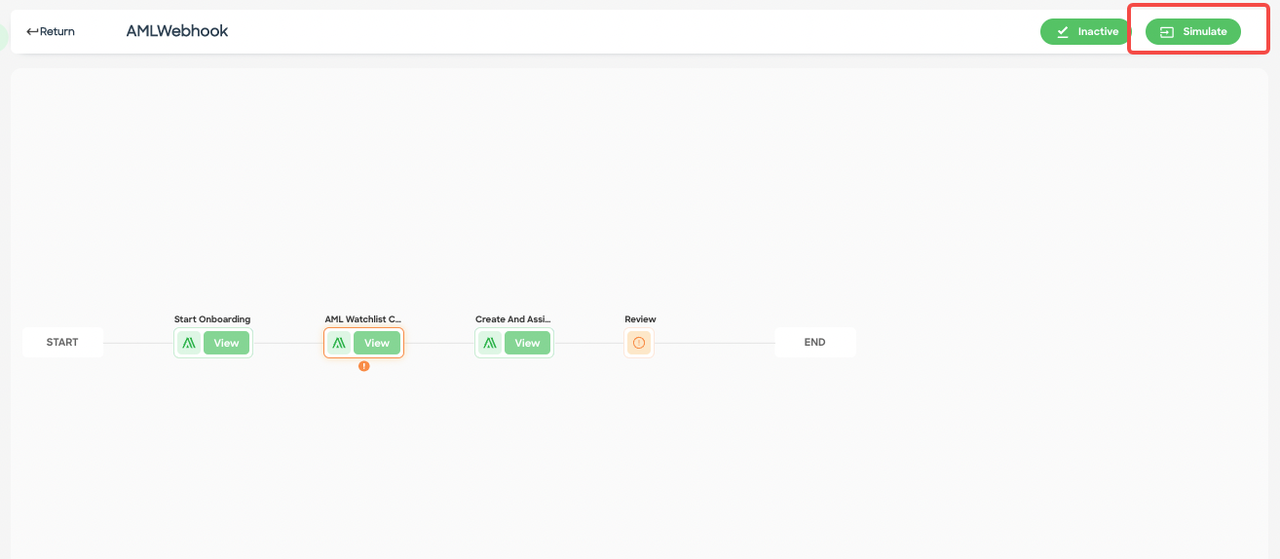
Figure 1 - Simulate button on canvas
Step 1: Simulating the Workflow
- Click the "Simulate" button located at the top-right corner of the workflow canvas.
- This action initiates the simulation process, allowing you to test the workflow and ensure that data flows through the defined route as expected.

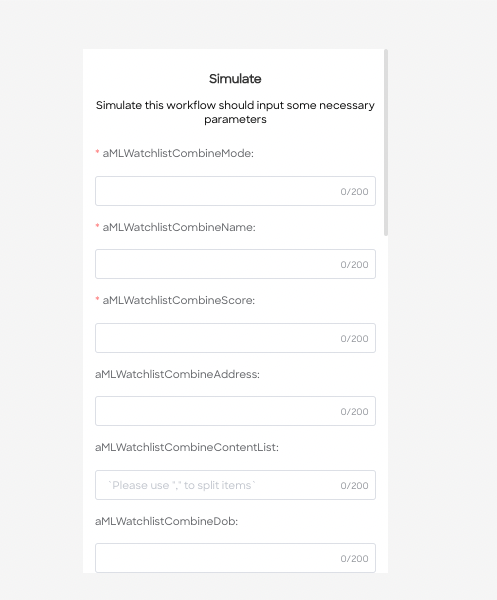
Figure 2 - Simulate information collection for AML
Step 2: Inputting Necessary Information
During the simulation, you will be prompted to input relevant information based on the path and nodes configured in the selected workflow. The specific data required will depend on the workflow's design and requirements.
- Provide the necessary information as prompted during the simulation. This may involve entering user data, making selections, or inputting specific values.
- The inputted data should align with the workflow's logic and simulate real-world scenarios.
Checking Simulation Results
After the simulation is complete, you can review the results to assess if the workflow is functioning as intended.
- Check the generated verification records to observe how the simulated data has traversed the workflow.
- Verify that the simulated data has followed the expected route, triggered the appropriate actions or decisions, and resulted in the desired outcomes.
- Assess the verification records to ensure that the simulation aligns with your workflow's logic and produces the desired results.
By utilizing the simulation feature within One Stop, you can effectively test and validate the workflow, identify any issues or discrepancies, and make necessary adjustments before deploying the workflow in a live production environment. This helps ensure your workflows' smooth operation and accuracy within the One Stop platform.
Updated 3 months ago
