
Workflow Configuration
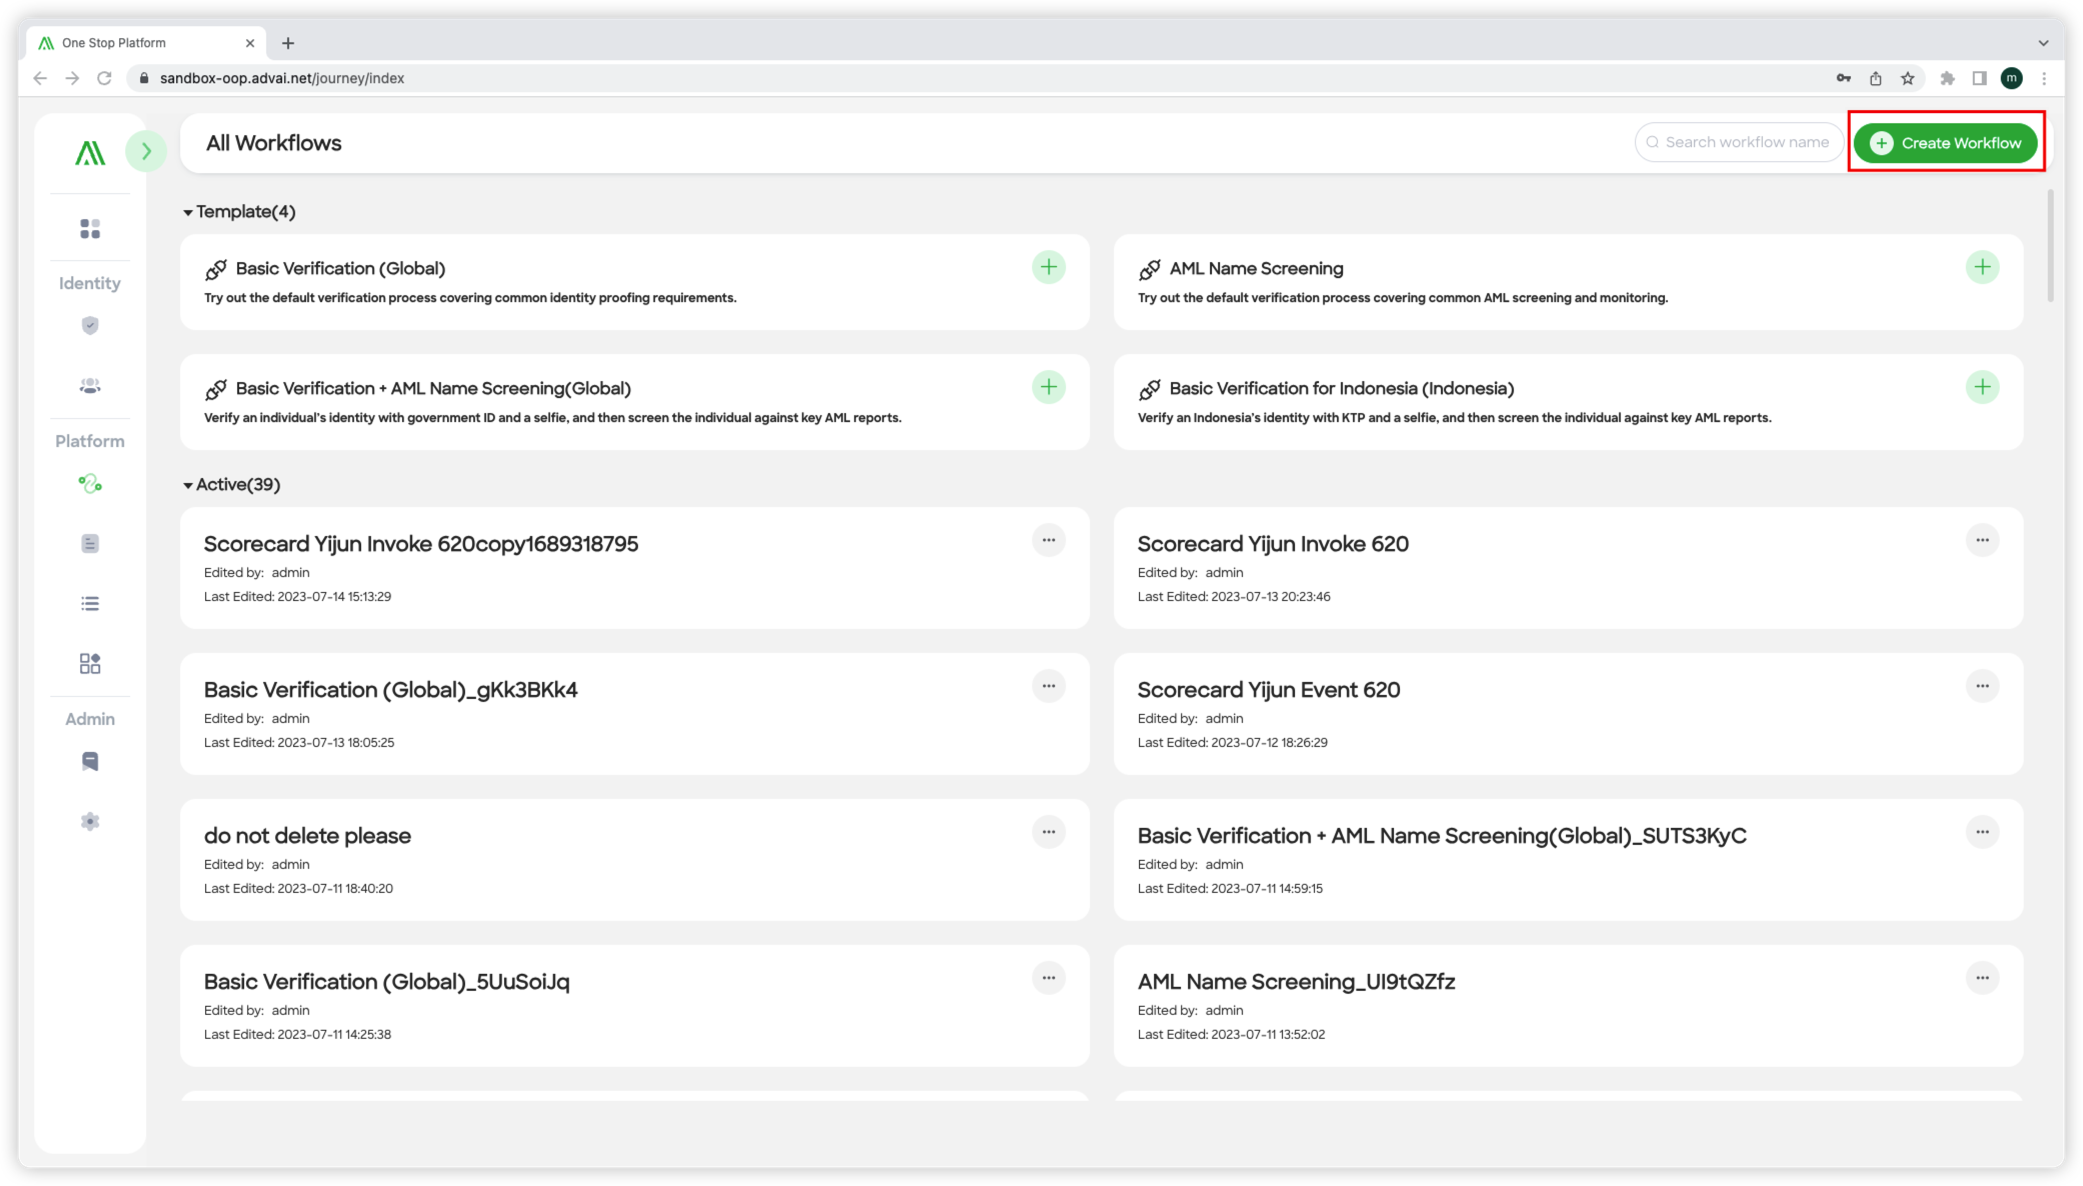
Figure 1 - Create button in Workflow List
Step 1: Access Workflow Creation
- Go to the "Workflows" section in One Stop.
- Click the "Create workflow" button in the page's top right corner.
- Refer to "Figure 1 - Create Button in Workflow List" for visual reference.
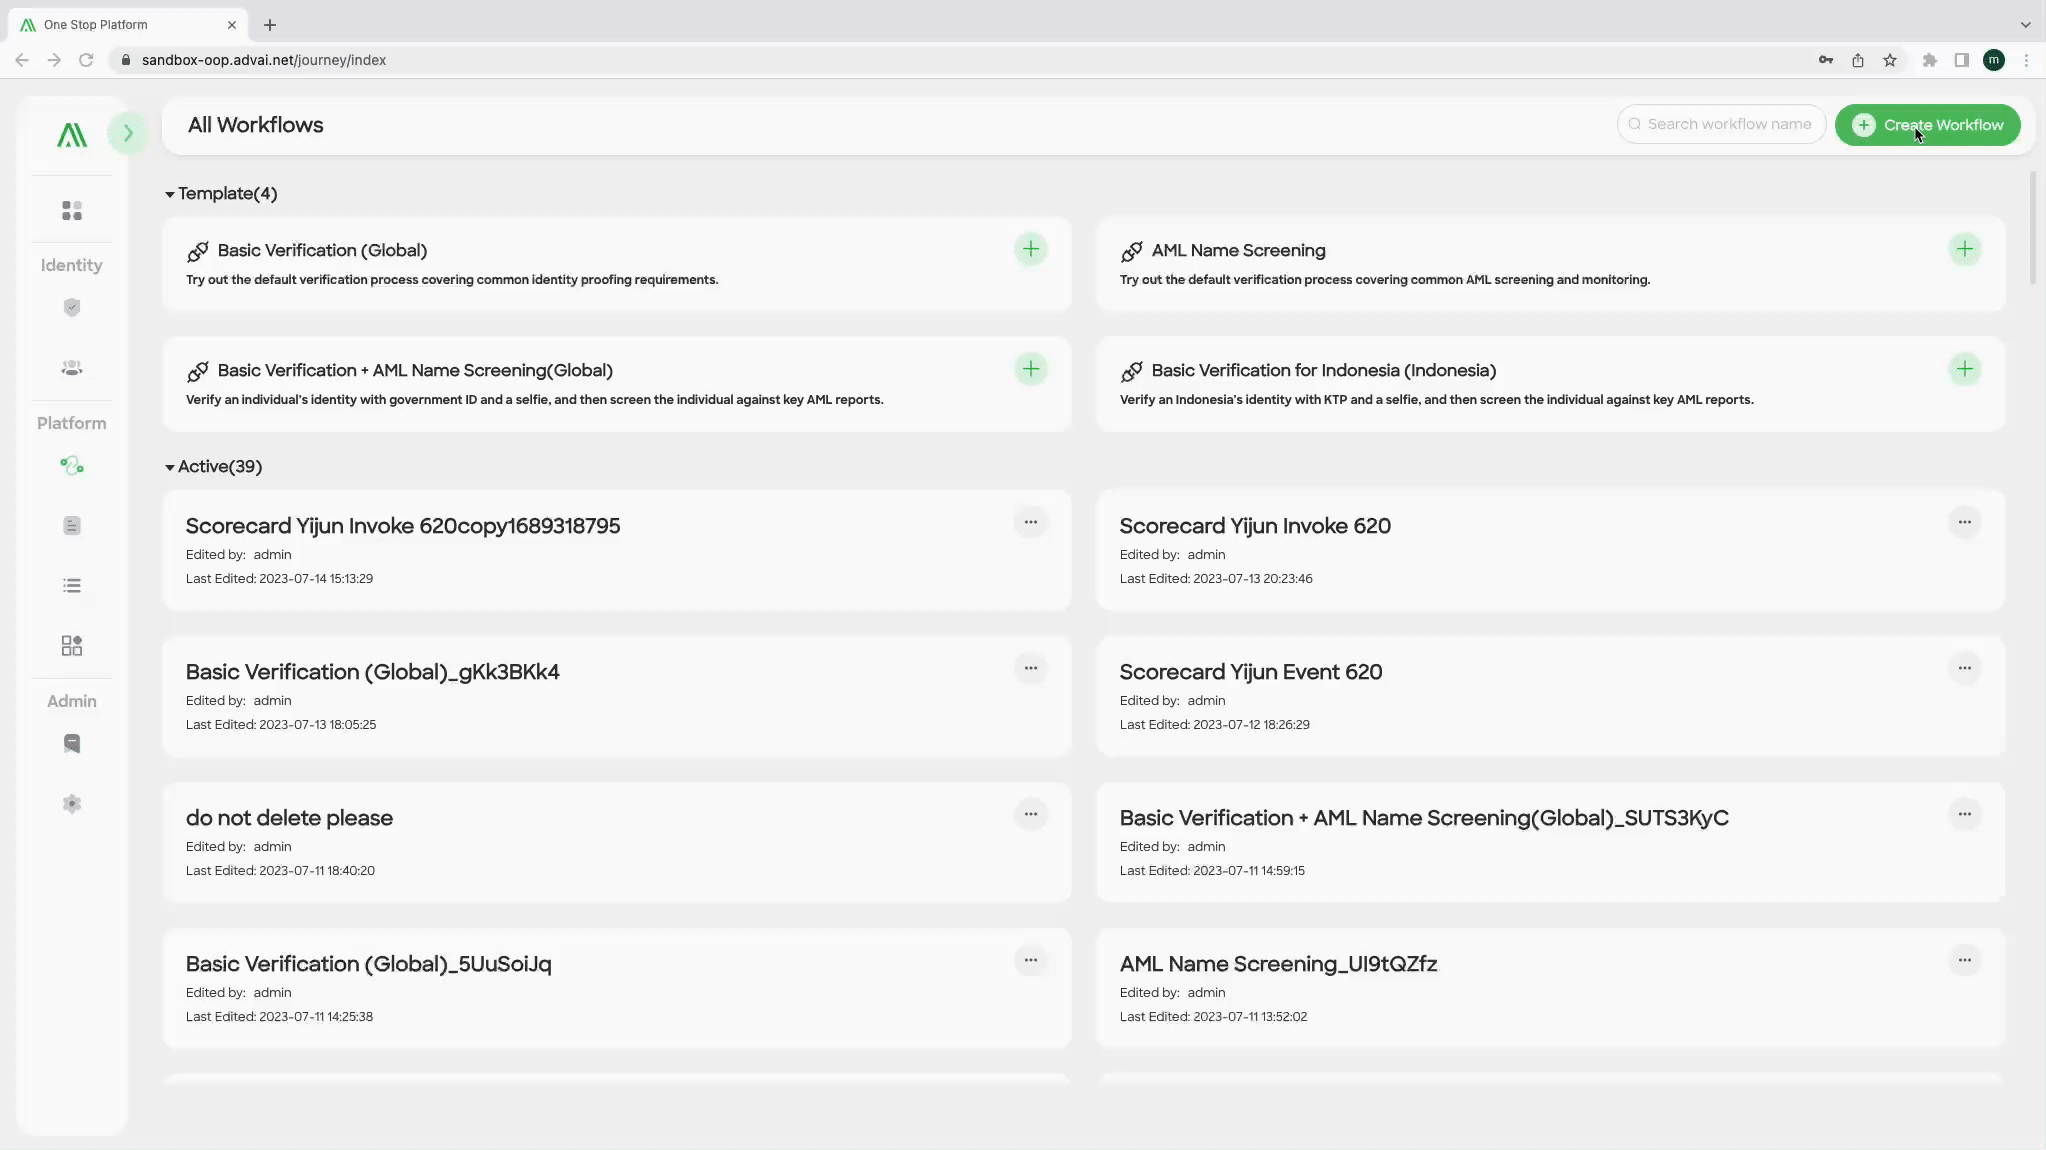
Figure 2- The pop-up window for creating a workflow
Step 2: Open Workflow Creation Pop-up
- After clicking the "Create workflow" button, a pop-up window for creating a workflow will appear.
- In this window, enter the desired workflow name.
- Click the "Create" button to proceed.
- This will open a blank workflow canvas for configuring the workflow.
- Refer to "Figure 2 - The Pop-up Window for Creating a Workflow" for visual reference.
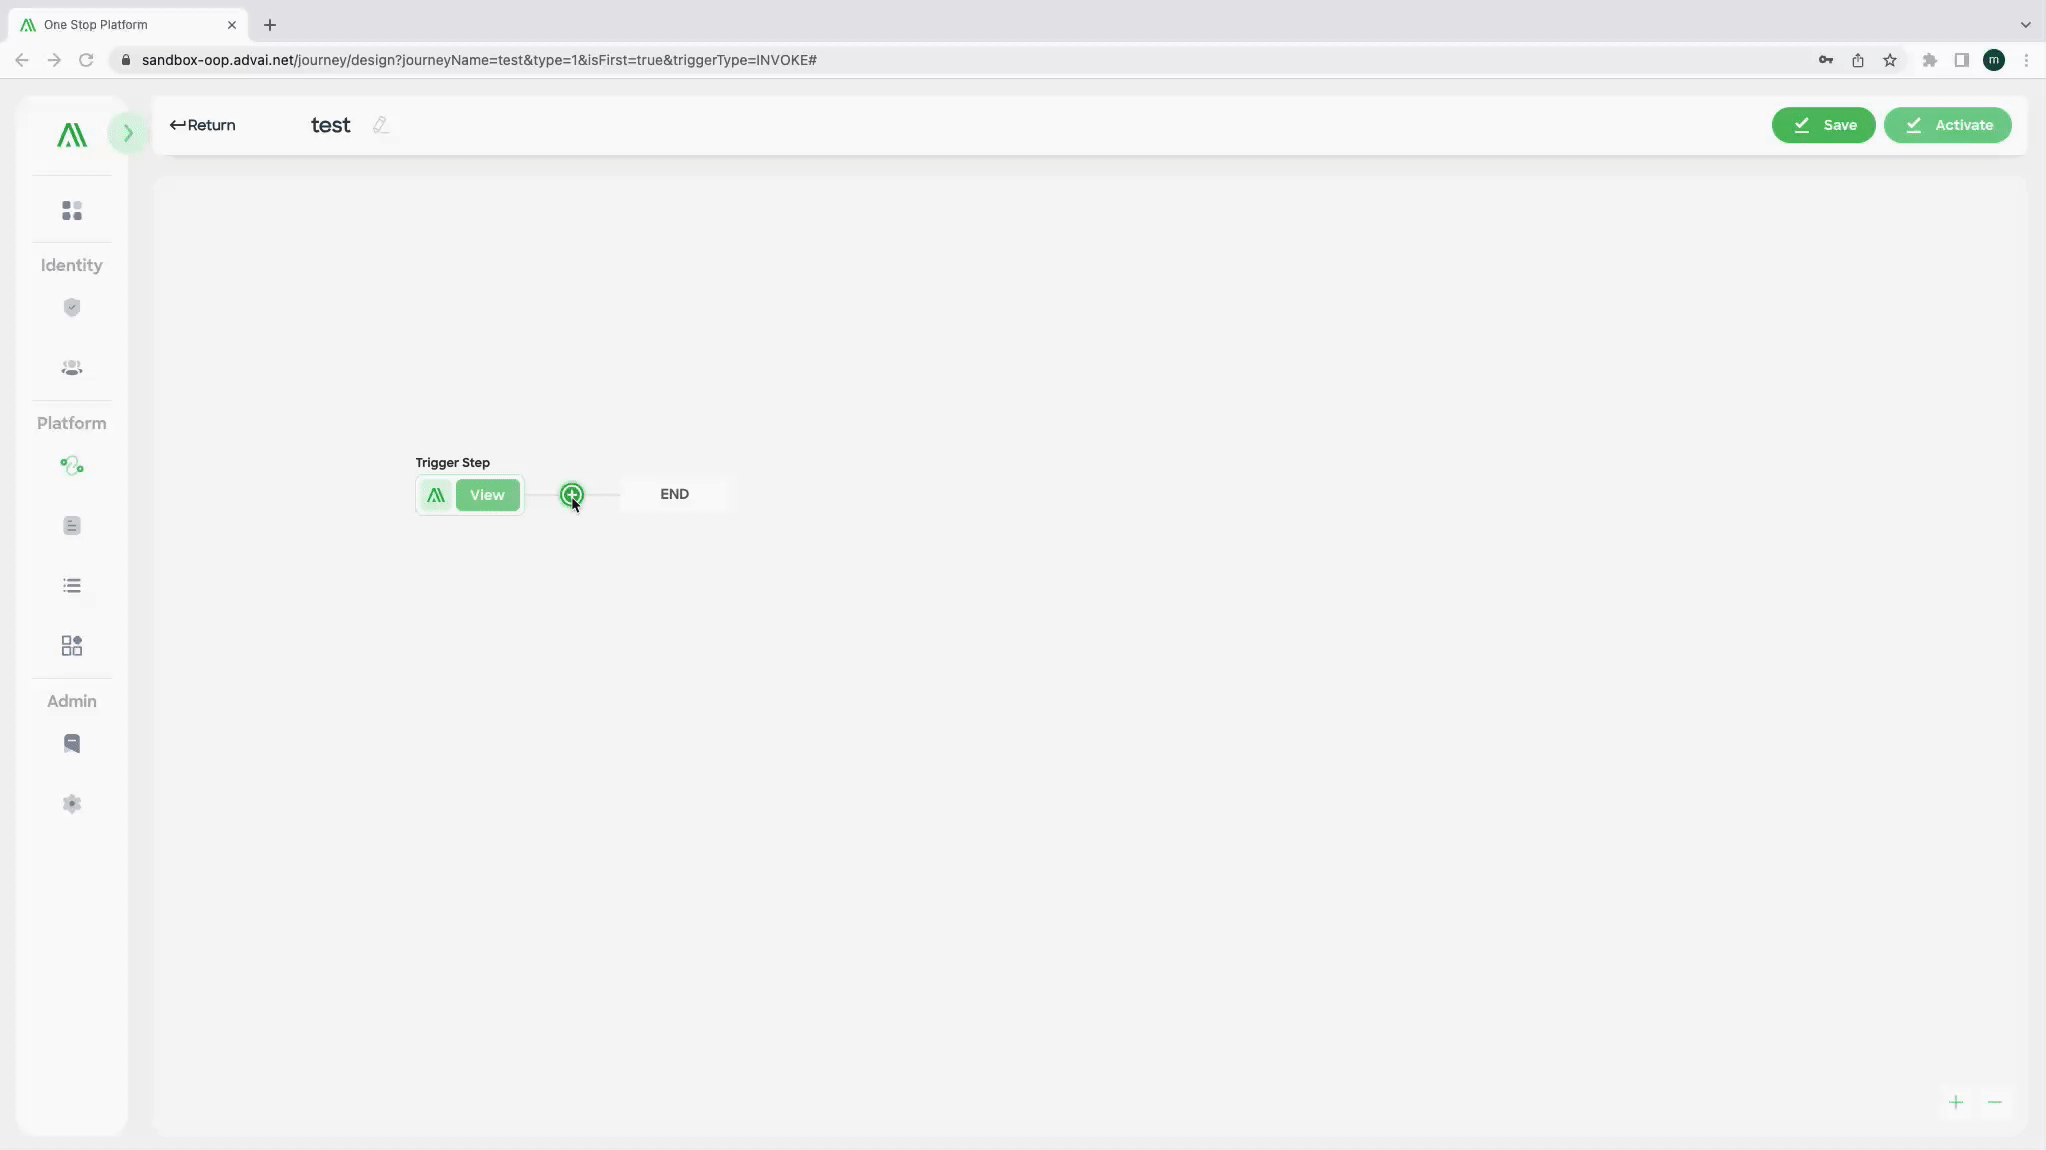
Figure 3 - Workflow canvas
Step 3: Add Nodes to the Workflow
- To build the workflow, click the "+" sign located between two nodes on the canvas.
- This will open the node menu on the right panel.
- Select the desired node type from the menu to add it to the workflow.
- The available node types include:
- Interface: Nodes responsible for interacting with the user interface.
- Actions: Nodes that perform actions on objects.
- Condition: Nodes that apply custom logic using "If-this-then-that" criteria.
Note:
Some nodes may be grayed out and unavailable for the current position, depending on the workflow requirements
Figure 4 - Prompt Messages
Step 4: Check for Prompt Messages
- While configuring the workflow, you may encounter prompt messages. Refer to Figure 4 - Prompt Messages.
- If a "!" sign is displayed below a node, it indicates that some necessary parameters or nodes are missing in the current workflow configuration.
- Click on the node with the "!" sign to view the specific prompt information and make the necessary modifications to the workflow.
- By following these steps, you can create a new workflow in One Stop, add nodes of different types to the workflow canvas, and address any prompt messages to ensure a complete and functioning workflow.
Tutorial
Watch this 1:18min video to learn about how to configure a workflow:
Updated 8 months ago
Did this page help you?